Mass Deployment of Splashtop Streamer
Easily deploy your customer streamer or switch all your managed computer to Splashtop.
If you are using Splashtop Remote Support, here are the simple steps to deploy your custom streamer to the computers you want to access. Already using another remote access solution? it’s easy to make the switch to Splashtop.
STEP 1
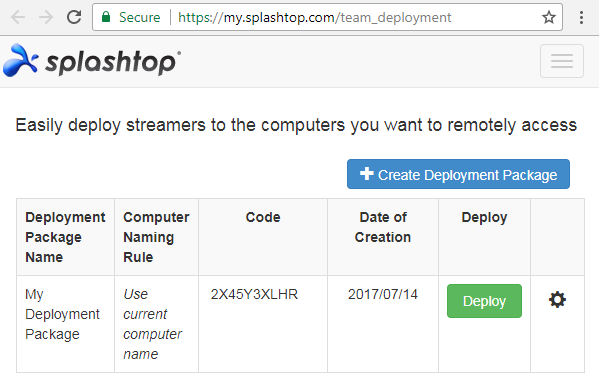
Create a custom Splashtop Streamer installer
Log into your Splashtop web console and create a deployment package. Then you can download the installer as an EXE or MSI.
Click here to learn more on how to get this set up.
STEP 2
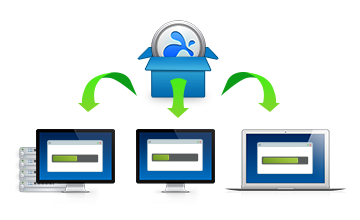
Install your custom Splashtop Streamer on the computers you want to manage and access
If you have Microsoft Group Policy, SCCM, or a RMM tool, you can install the streamer onto many computers in one shot by using MSI or EXE. The installation process with both MSI and EXE installers can be customized for silent install and more by adding command line parameters or editing the MSI.
Here is an overview of the various deployment methods.
If you currently have LogMeIn Central, you can use its One2Many feature or command prompt to silently deploy Splashtop without remoting into the computers.
See these instructions if you’re deploying via Apple Remote Desktop.
You’re welcome to take a look at our brief tutorial video or give our support team a call.
- How do I set up the computers that I want to access remotely?
- How do I create deployment packages?
- How do I customize the default streamer settings for deployment?
- Command-line parameters to silently install your deployable Splashtop Streamer
- Editing the MSI with Orca to silently install your Splashtop Streamer
- How do I embed the deployment code into the installer?
Don’t have Splashtop yet? Get started with a free trial of Splashtop Business Access, Splashtop Remote Support or Splashtop SOS.
 浙公网安备 33010602011788号